
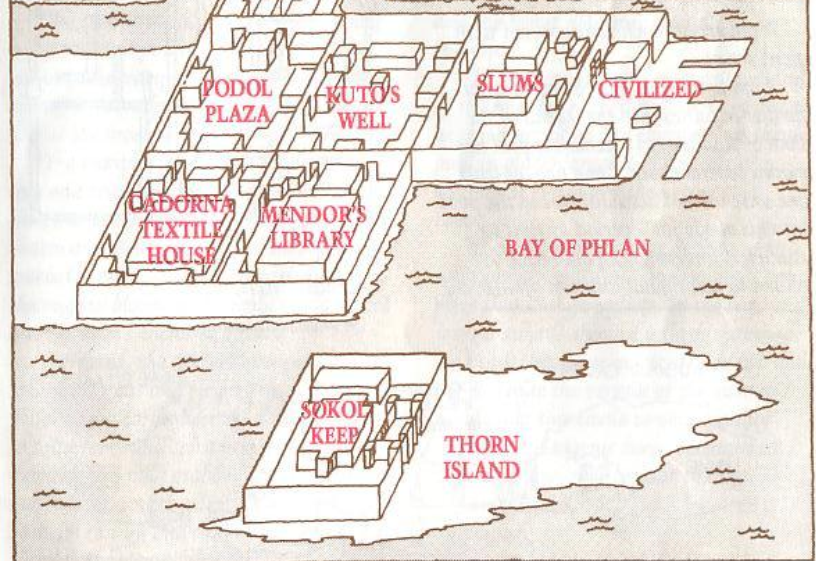
After you’ve cleared the Slums – in terms of quest goals, you have a few new options. On the one hand, you can continue inland to Kuto’s Well. On the other, you can now travel out to Sokol Keep out in the bay around the city. With this comes a bunch of new quest goals as well. One quest goal tasks the party with spying on the auction for a weapon in Podol Plaza, several city hexes inland. The other explicitly tasks the party with going out to Sokol Keep and clearing that – steering the player in that direction for their next quest, so I’ll be covering that hex next.
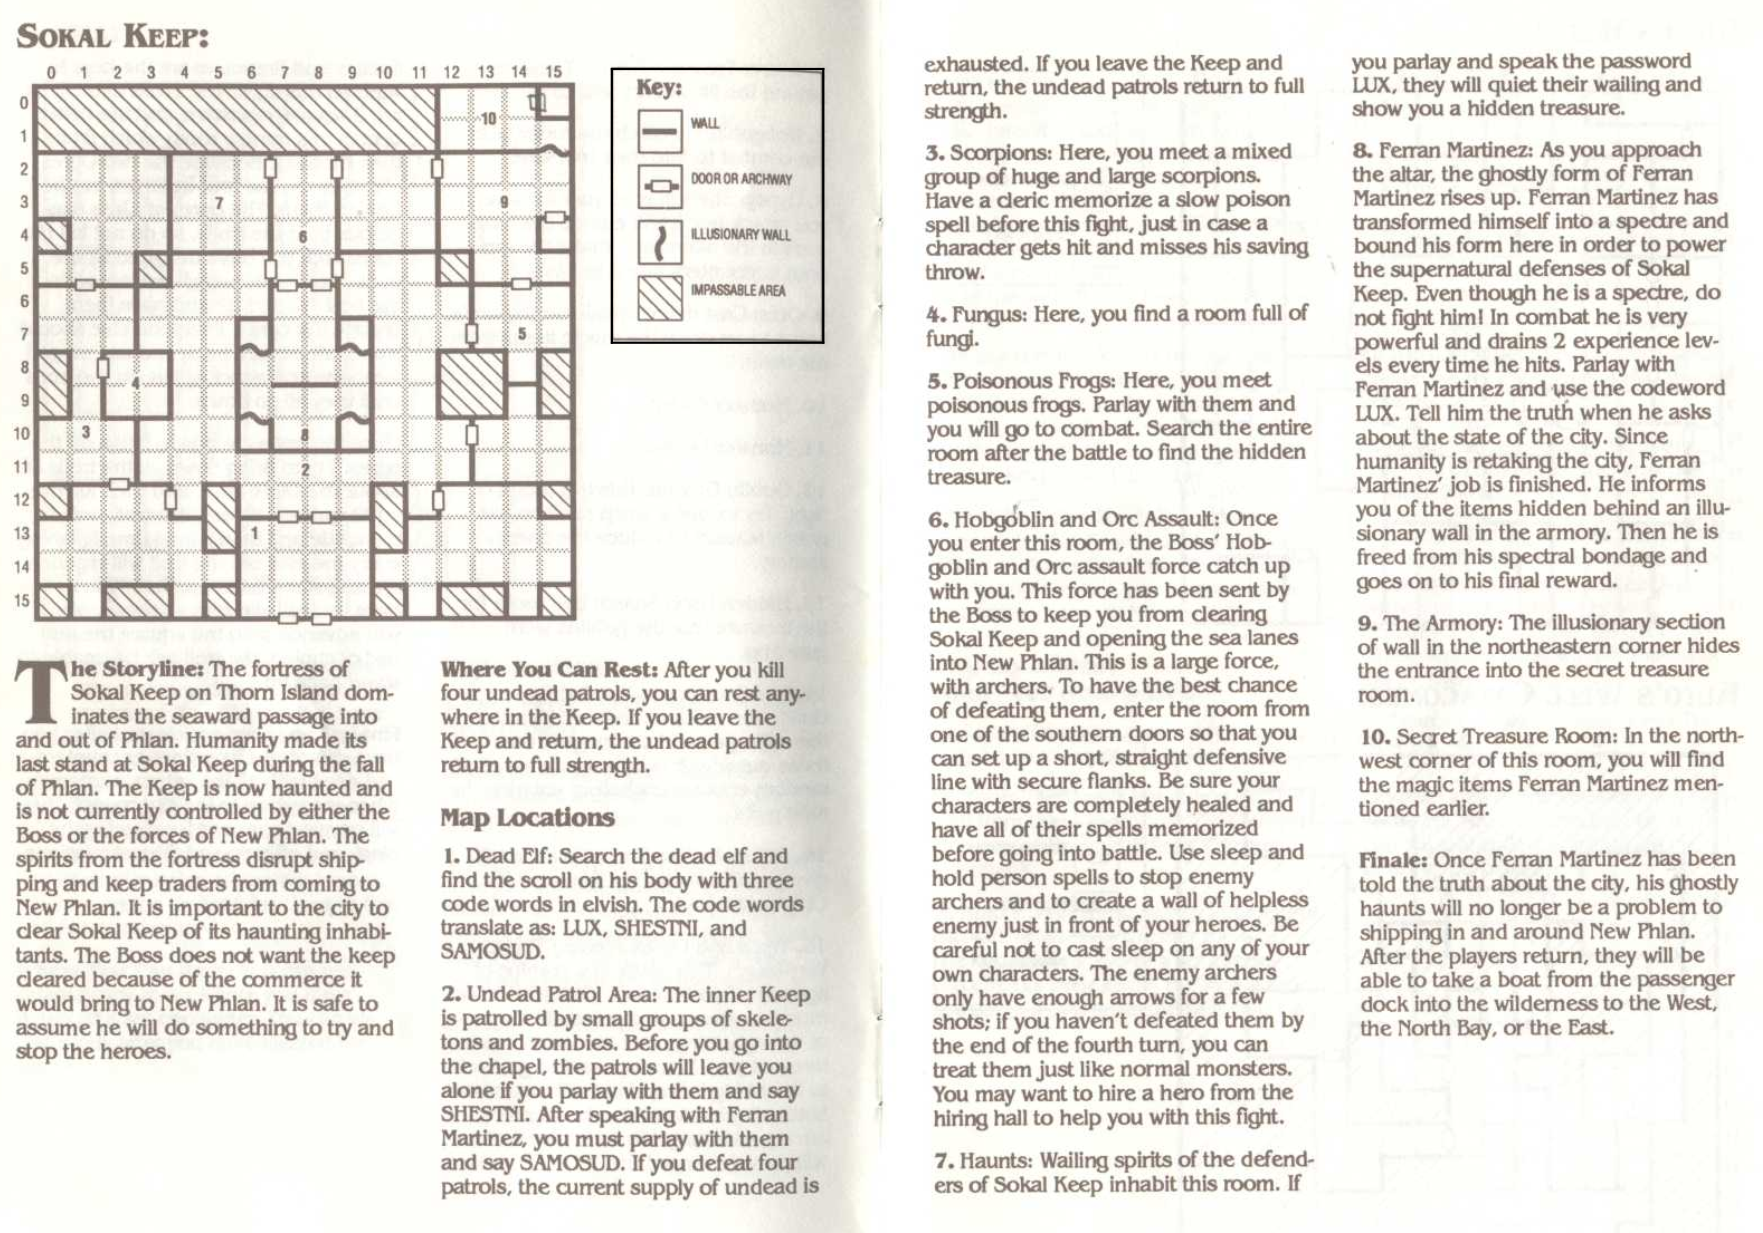
Sokal Keep is significantly different from the Slums – random encounters are with the spirits of the undead defenders of the keep, and not only do they only appear in a limited area of the map, but they also are completely avoidable with the use of the right password. That password is one of the three found on a piece of paper in the very first room of the keep. That piece of paper also leads to the first things that this portion of the game is teaching you to use as well, and that is the code wheel.
By way of explanation, Pool of Radiance shipped with a rotating code wheel. When playing the game, the majority of your interactions with this would be with the copy protection when you first opened the game to play. However, occasionally, the game would pose situations where you would need to translate certain words in either Elven or Dwarven text in the game’s environment as part of various puzzles. The document here introduces the code wheel in a relatively low-pressure environment. If you decode the text with it, you have a way to avoid random encounters and save your resources. If you don’t, then you’ll have to fight some random encounters that will drain your resources – but won’t outright stop you from progressing in the game.
The next thing this area introduces is poison. By this point in a Wizardry or Might & Magic game, you probably would have been poisoned at least once by a drop from a random encounter whose trap the thief hadn’t successfully disarmed. However, after combat loot doesn’t work that way in Pool of Radiance so any treasure you would have picked up in the Slums would not have been trapped so you wouldn’t have had to contend with poison.
Here, on the other hand, the encounters around the perimeter of the keep all, in some manner or another, have poison (with the exception of the Boss encounter). Consequently, in order to succeed in this area of the dungeon, you’ll need to have a divine spellcaster (whether a cleric or a druid) in the party to cast Slow Poison while you withdraw to town to pay for a healer – this leads me, briefly, to money.
In most modern RPGs, even dungeon crawlers, what you use the money for are expendables (healing and escape items, some offensive items) or upgrades. In Wizardry, money is used for healing and identification. Pool of Radiance, like Might & Magic, uses money the way AD&D 1st edition uses it – to cover expenses for healing and for training. However, unlike Might and Magic, here money has weight. Like, actual, physical weight. This means that when you travel around and find jewelry and gemstones, you don’t actually want to convert those to cash money. Appraise them, absolutely, but they’re more useful to you in their original forms instead of as cash because they weigh less that way. You convert them to cash when the time comes to level up or when you need to have some expensive healing done. So, while The Slums would have taught you the value of money when the time came to level up, Sokal Keep teaches you the value of money when it comes to healing (though, if you were coming to this game from Wizardry and Might & Magic, you’d know this already).
The next lessons the game teaches you come through the boss battle in area 6. This battle puts you against the largest group of enemies you’ve faced thus far in the game, and serves as something of a test of your understanding of the combat system, and some of the spells in the magic system – in particular area of effect spells like Sleep and, since you’ve leveled up a few times at this point, Stinking Cloud and Hold Person.
This fight puts you up against a boatload of goblins, hobgoblins, and a small handful of goblin leaders – no trolls, ogres or anything similar. You’ve handled loads of these in smaller numbers in the Slums, but here they’re coming with enough numbers to overwhelm you if you’re not capable. Consequently, the spell loadout you use coming into this battle is incredibly important.
Similarly – you have three different entrances you can use going into the battle, and which entrances you use are also very important. The two at the bottom, which you can access without having to clear the side rooms, puts you at a position where the gobbos have to go through a bottleneck, making it harder for them to flank you, and putting them in a position where they’re in range of your AOE spells, instead of the northern entrance, where you (and they) have to close, and they’re in a better position to flank you.
After the fight – we get our first Journal Entries of the game – longer areas of text that are kept in the Adventurer’s Journal to save space on the original floppy disks. Here we get our first mention of “The Boss” the leader of the forces in the Old City who is planning to crush New Phlan.
This is expanded on in a dialog with the ghost of the fortress’s last commander – Ferran Martinez. If you talk with him instead of fighting him, he provides a list of names of the three powerful beings behind the fall of the city – setting up the possibility that one of these three is “The Boss”.
If you enjoyed this article and would like to read future articles up to a week early, please consider backing my Patreon. Backers get reviews up to a week early.
Or you can just toss a few bucks in my Ko-Fi Jar if you want to help out but the Patreon isn’t a viable option.
